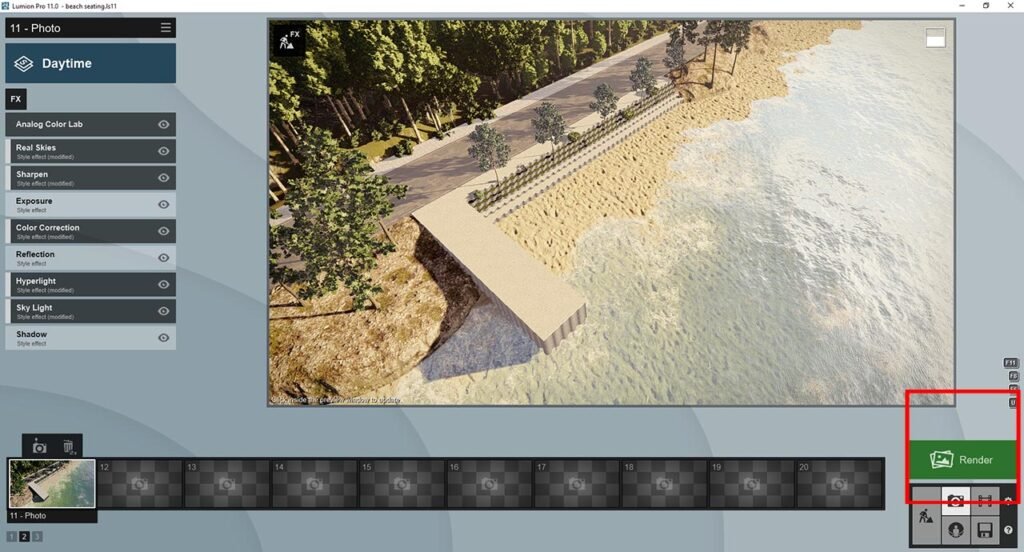
In this tutorial, I will show you the steps I took in Beachfront design Lumion 11.
Beachfront design Lumion 11 – Tutorial
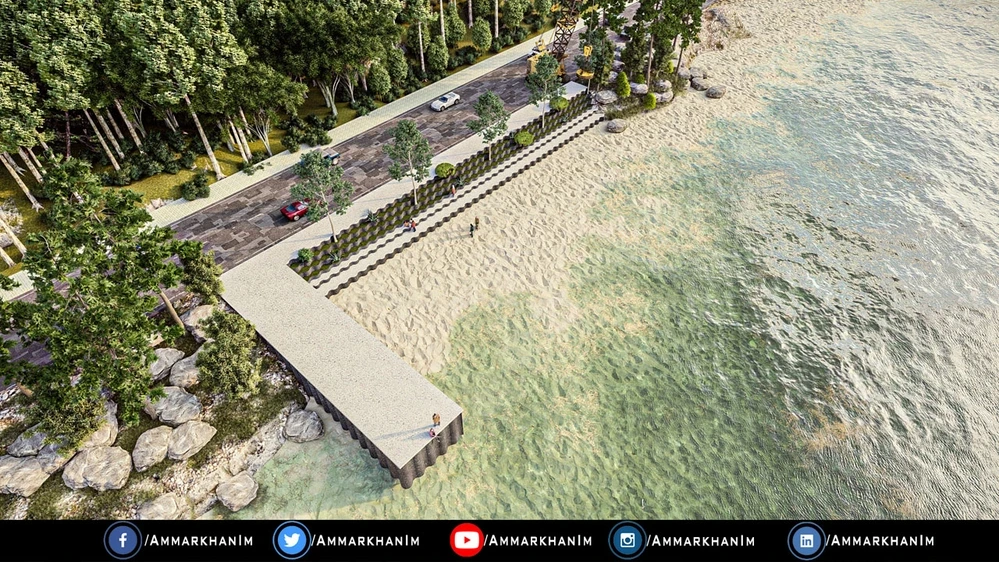
The Lumion 11 file of this tutorial is available Here.
Download The 3D Model From Here, so you can continue with me.
Beachfront design Lumion 11
SO Let’s get started!
First Click on Import and select the model and Import it in Lumion 11.

This is how it looks after imports.
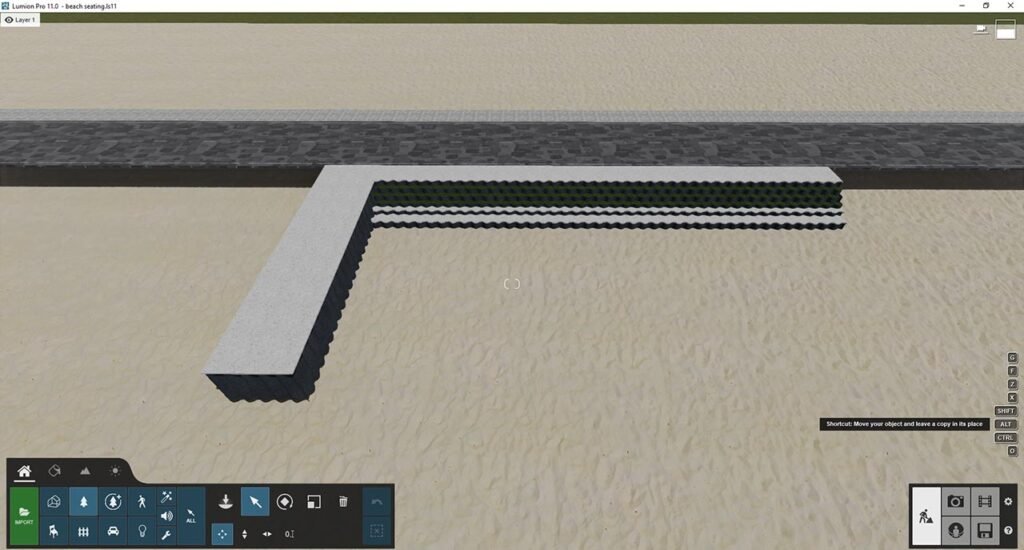
you can see we have empty spaces in the sides, so now we will fill these by adding Terrain, we have to go (Landscape>Heights) and add some terrain.it should be irregular, not flat.
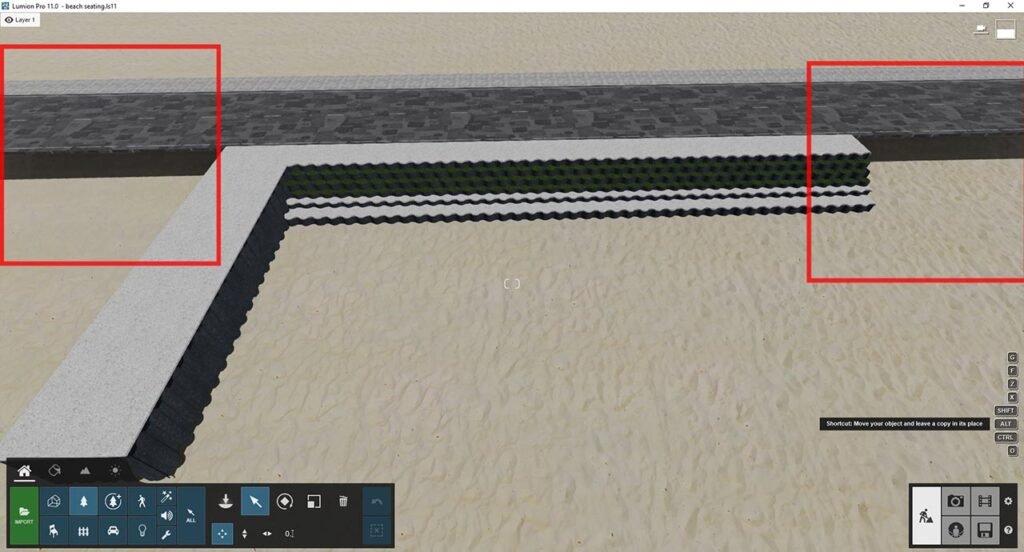

After Adding some terrain How it looks.
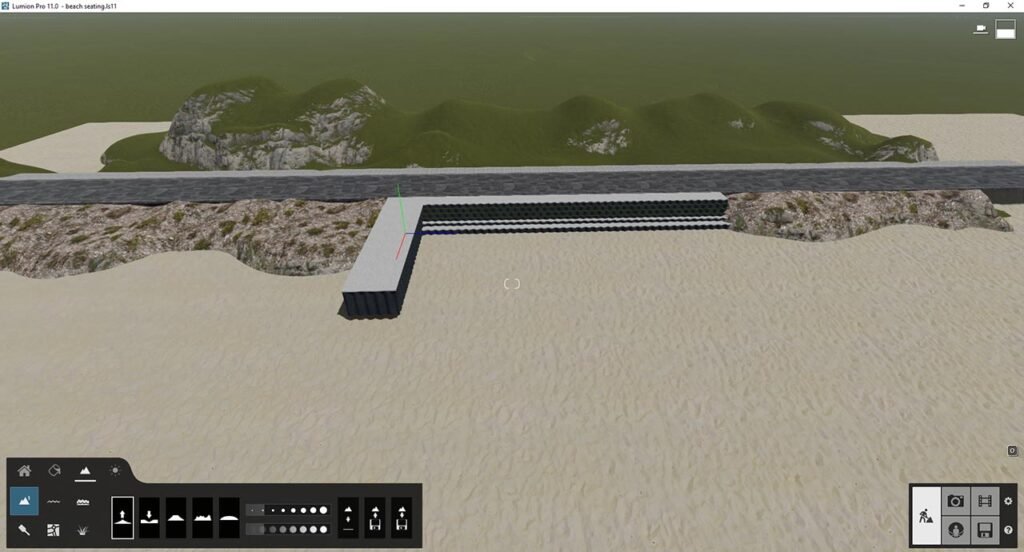
now set the camera so you can see which part will show in the Final render, so we can work on that only, It'll help you to reduce the file size too.
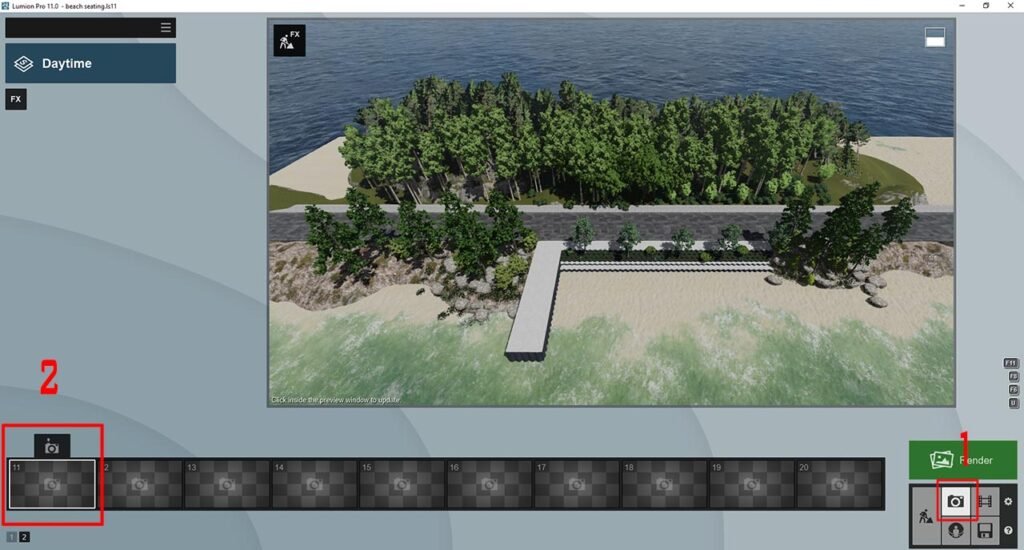
These are The Settings That I have Applied
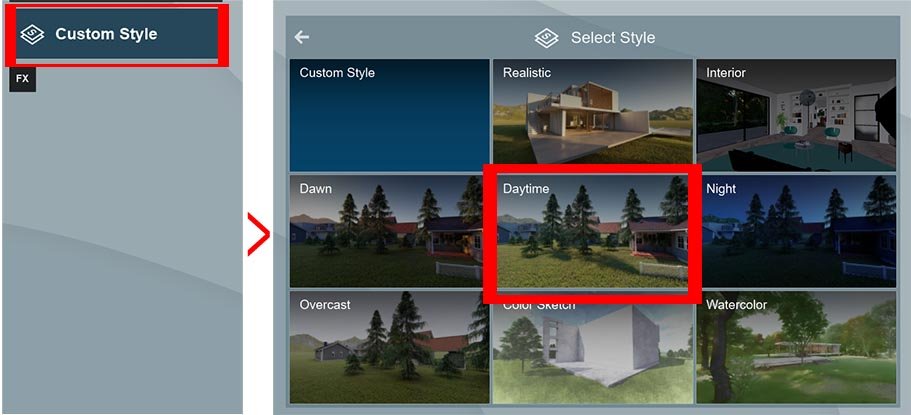
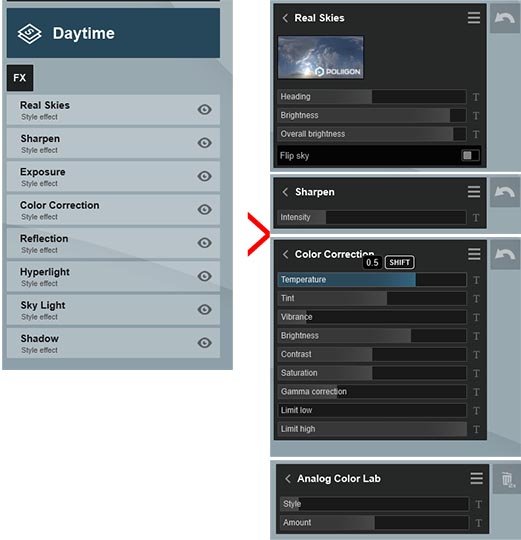
You can Download The Render Settings from Here.
Usually, I don't Do Extra Settings Just add Some Sharpness, Analog Colors, and change Real Sky According to my needs.
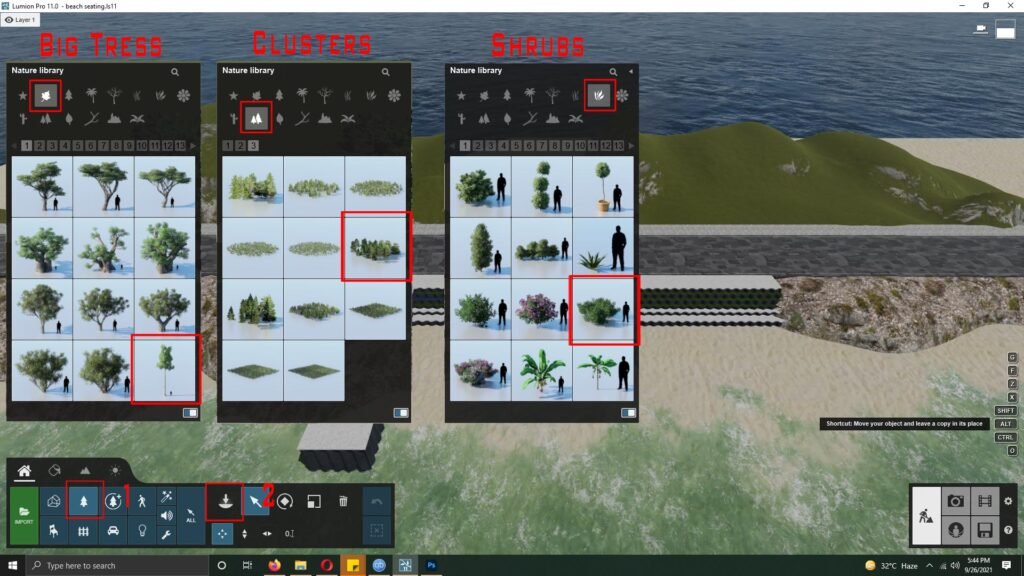
Now We Will Add Plants in the Background, You Can any Trees Which You think Is right.
I use 3 Types In the Background
Big Trees Infront, in the Background I use Clusters(These are low-quality Trees) For Fill The Gaps and Shrubs For Cover The Ground. It'll Add Realism to The Scenes
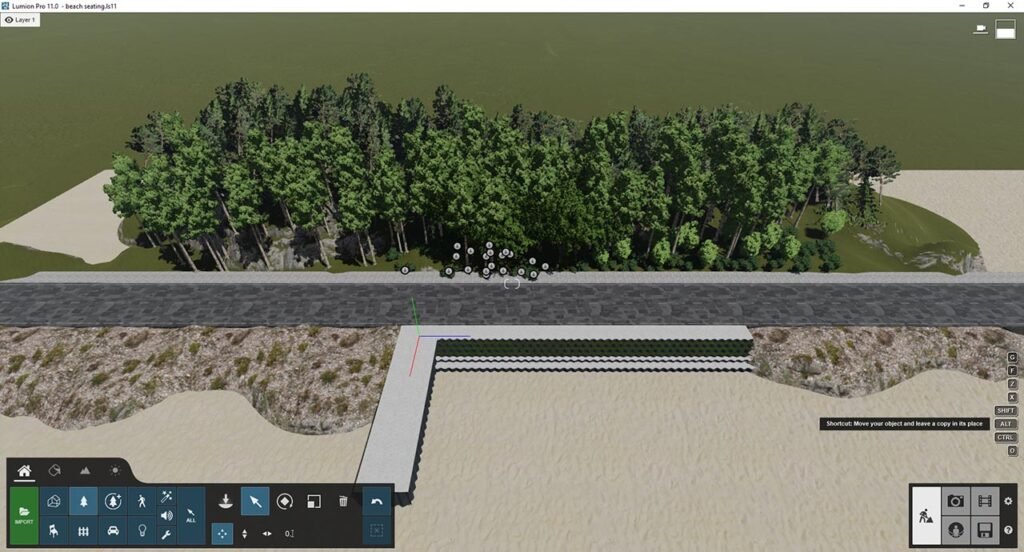
This Is The Result
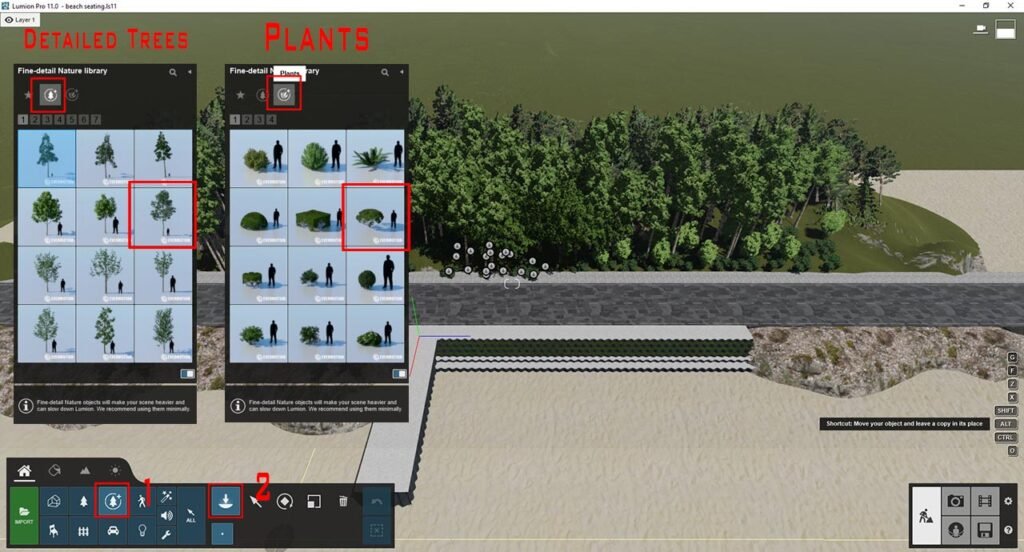
Now We Will add Detailed Trees On The BeachFront and add Some Stones too so it'll feel like Real Beach.
This Is The Result
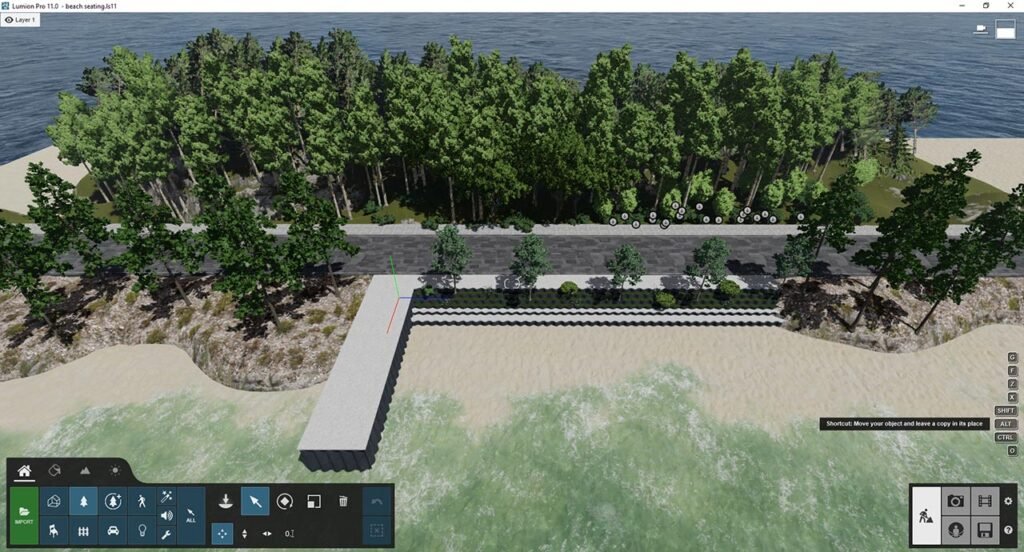
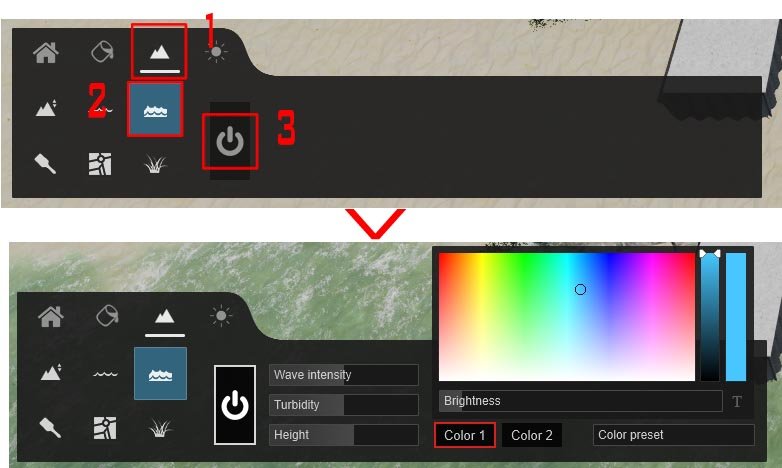
Now we will Add Ocean to the Scene.
Now Hit The Render Button
